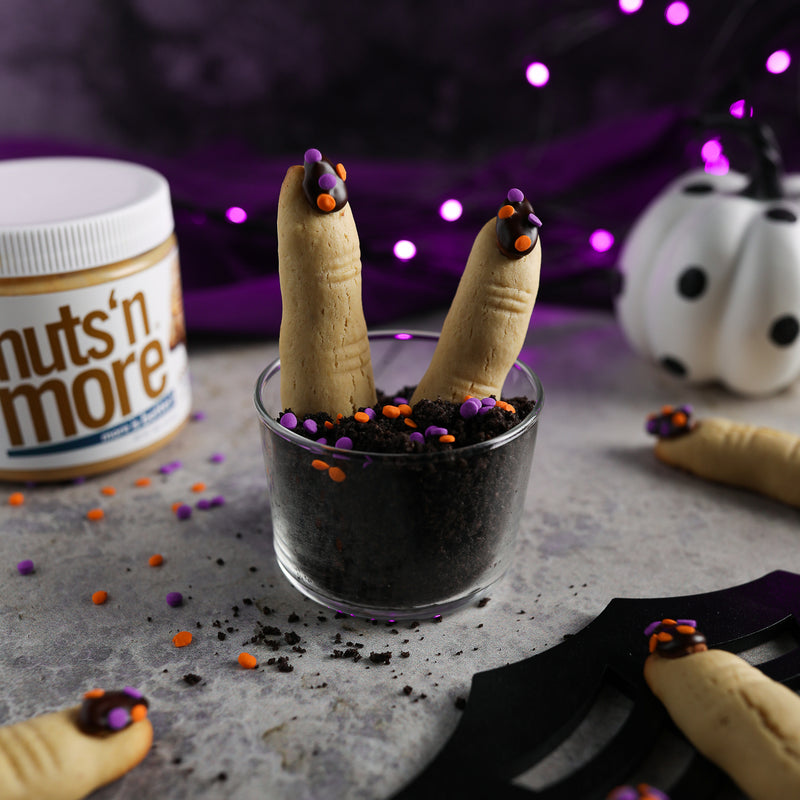
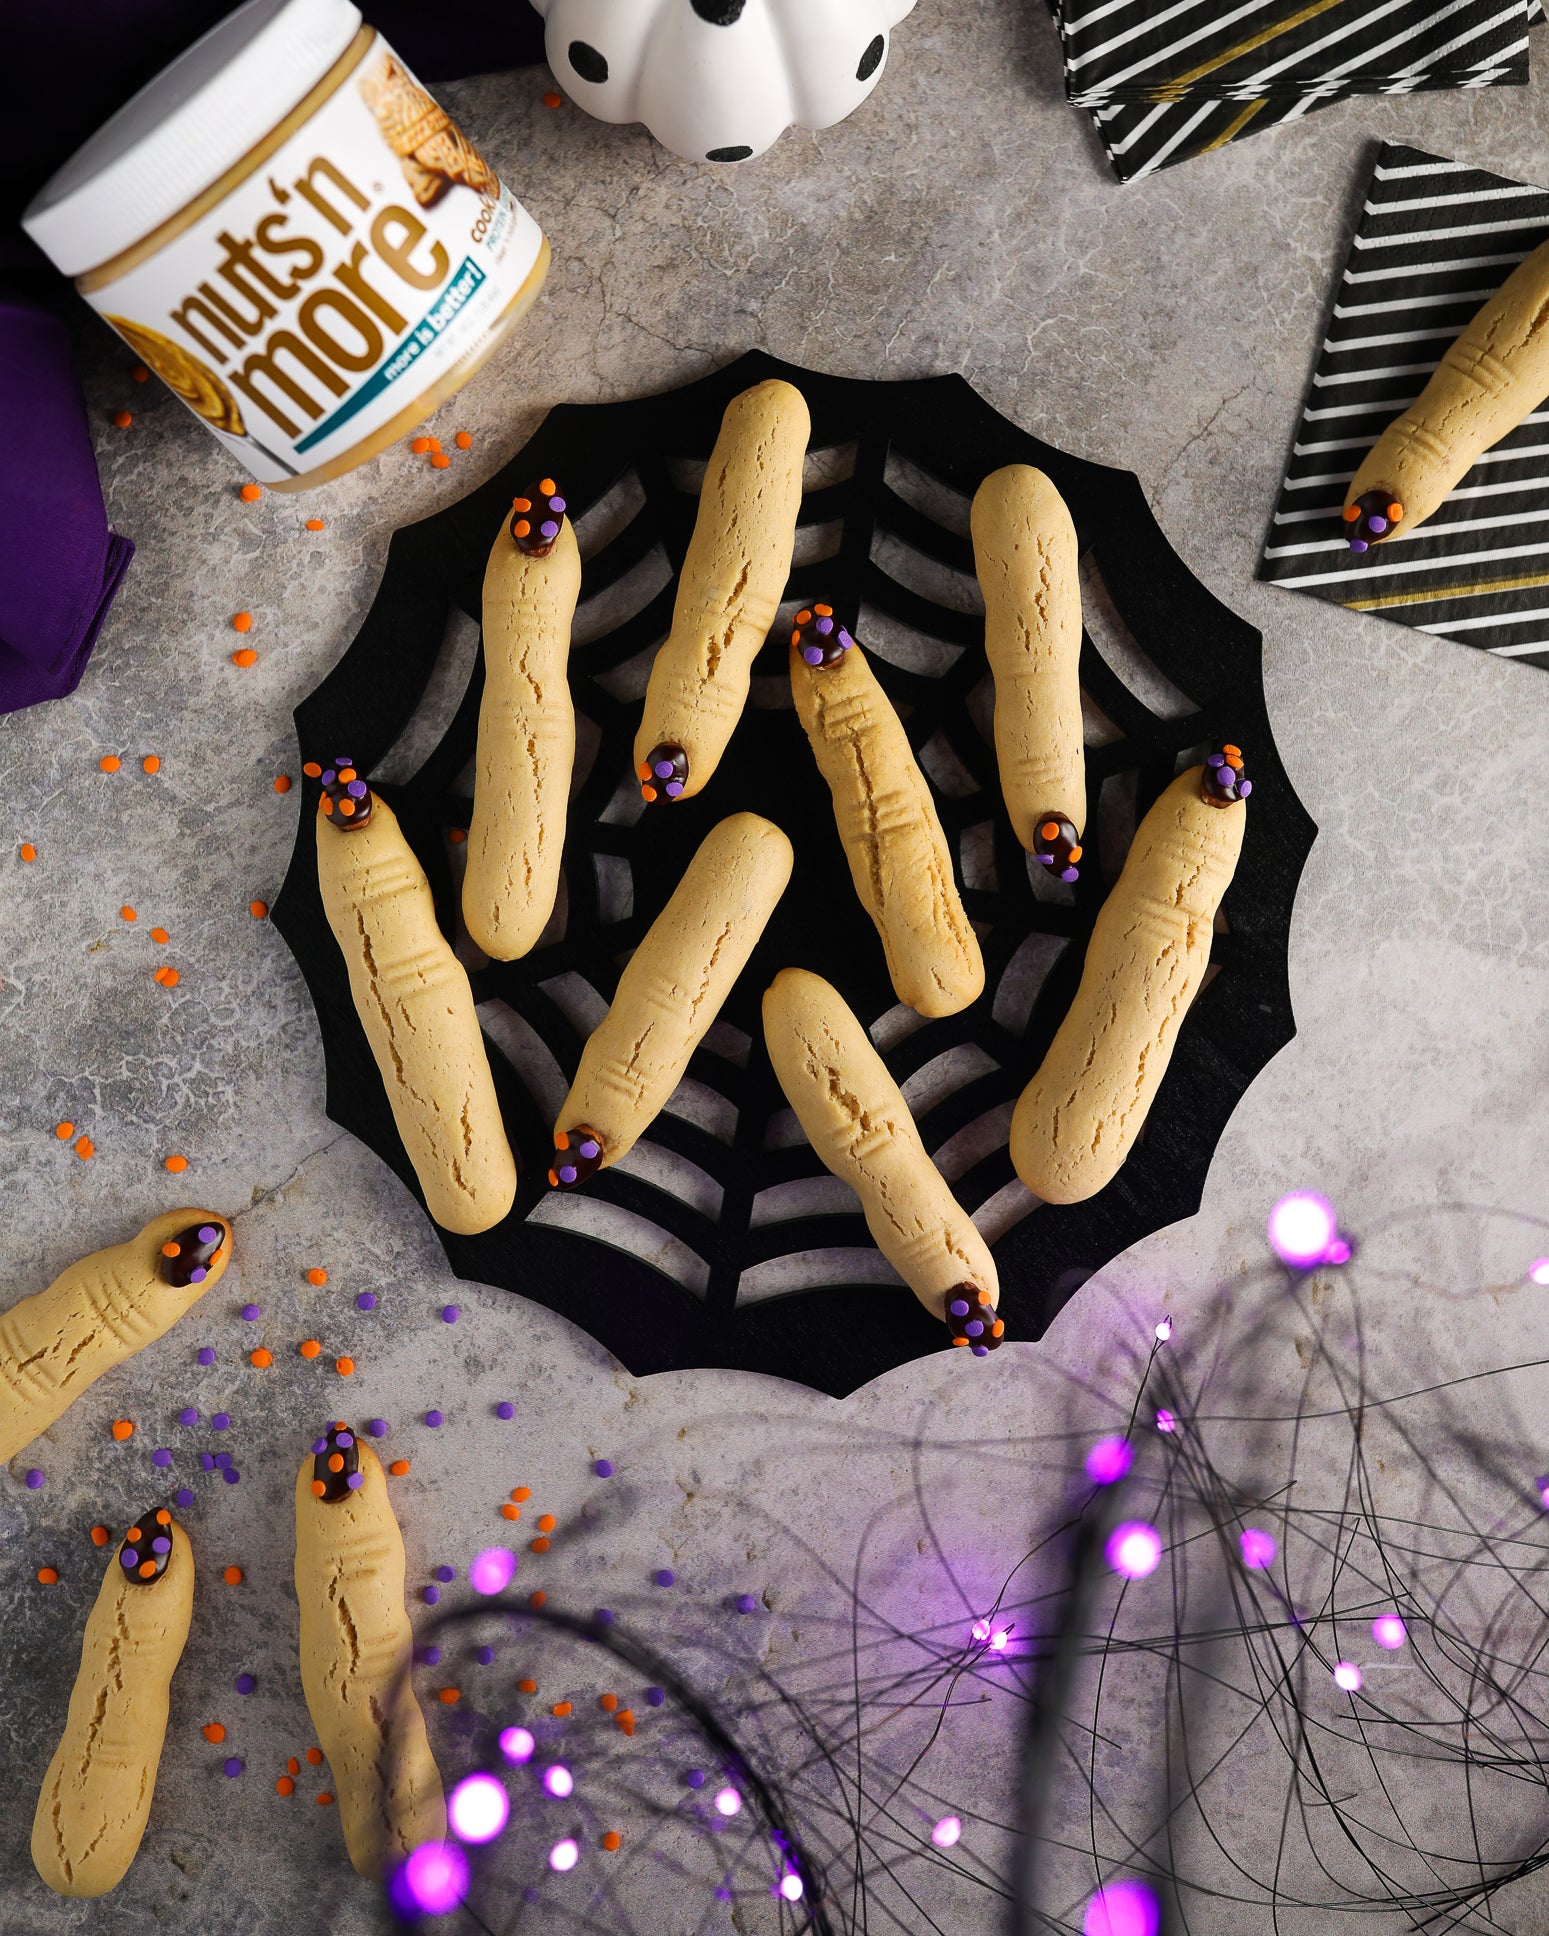
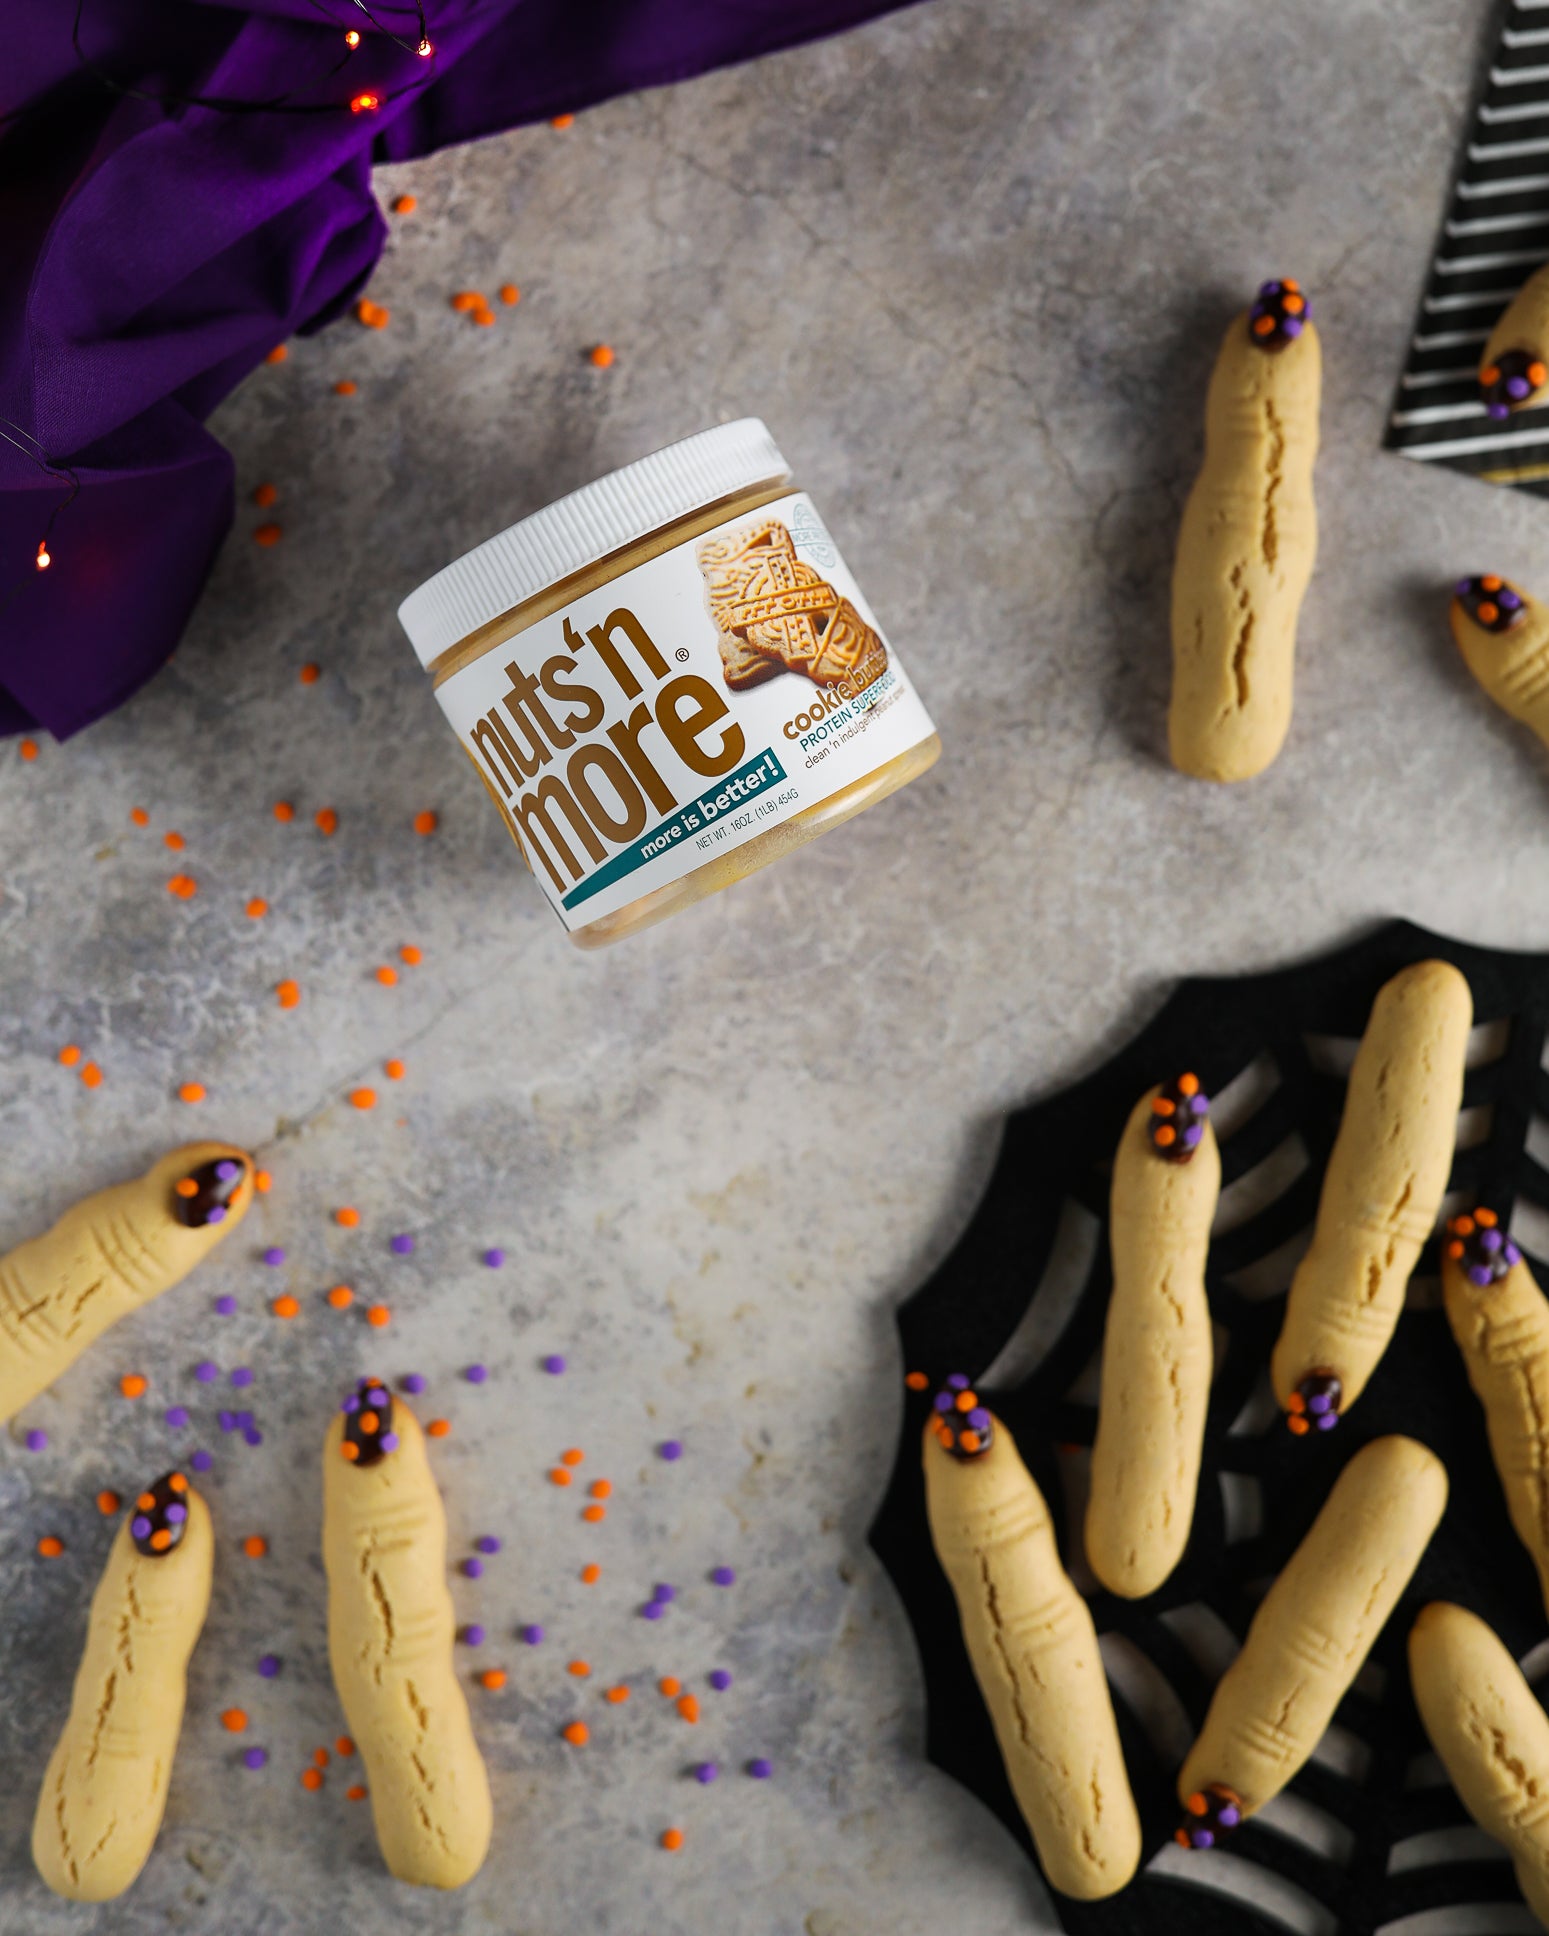
Witch Finger Cookies


-
Prep Time30 minutes
-
Bake Time12 minutes
-
Makes12 cookies
Ingredients:
- 1 large egg at room temperature
- 1/4 cup Nuts N' More Cookie Butter Spread
- 1 tsp. vanilla extract
- 2 tbsp. coconut butter, melted and cooled
- 1/4 cup + 2 tbsp. maple syrup
- 1 cup + 1/4 cup all-purpose flour
- 1 tsp. baking powder
- 1/2 tsp. salt
- 12 whole almonds
- Fruit jam for dipping
Directions:
- Add flour, baking powder and salt to a large bowl and whisk to combined, set aside.
- Combine egg, Cookie Butter, vanilla and maple syrup in a medium bowl and whisk until smooth.
- Pour the wet mixture into the dry and continue folding the batter with a spatula until you have a thick dough. Press the dough into a ball shape and wrap in plastic wrap, then transfer to the fridge for 30 minutes.
- Preheat oven to 350° F and line a large cookie sheet with parchment paper.
- Remove the dough from the fridge and unwrap. Using a cookie scoop, scoop about 1 heaping tablespoon of dough out at a time, then use your hands to gently roll the dough into a finger shape, about 3 inches in length.
- Roll the “tip” of the finger into a thinner section, then place the dough onto the cookie sheet.
- Gently press an almond onto the tip of the dough to create a fingernail.
- Then, gently pinch about half an inch above the tip of the dough, leave another half inch, then pinch again to create a knuckle shape.
- Use a knife to gently press 3 lines onto the knuckle areas.
- Continue until you’ve used up all the dough, yielding about 12 cookies.
- Bake for 12 minutes or until cookies are golden brown, then remove from oven to cool completely.
- Decorate each almond with frosting or colored gel to create a nail polish, then top with Halloween-themed sprinkles.
- Dip the cookies into fresh fruit jam and enjoy!
Macros (per serving):
Calories: 136
Fat: 5g
Carbs: 21g
Protein: 4g
